
Insulating and Air Sealing Knee Walls: A Proven Retrofit Approach
Knee walls are one of the most misunderstood—and most problematic—areas in older homes. When they’re insulated incorrectly, they can become a major source of heat loss, air leakage, and comfort issues.
At Green Minds Building, we see knee walls regularly during retrofits, and we’ve developed a repeatable process that delivers real performance improvements.
What Is a Knee Wall?
Knee walls are the short vertical walls found where sloped ceilings meet attic spaces—often in finished attics, bonus rooms, or older homes. They’re typically:
Half vertical, half slanted
Adjacent to unconditioned attic space
Sometimes equipped with an access hatch
Because knee walls sit between conditioned and unconditioned spaces, both insulation and air sealing are critical. Treating only one without the other almost always leads to poor results.
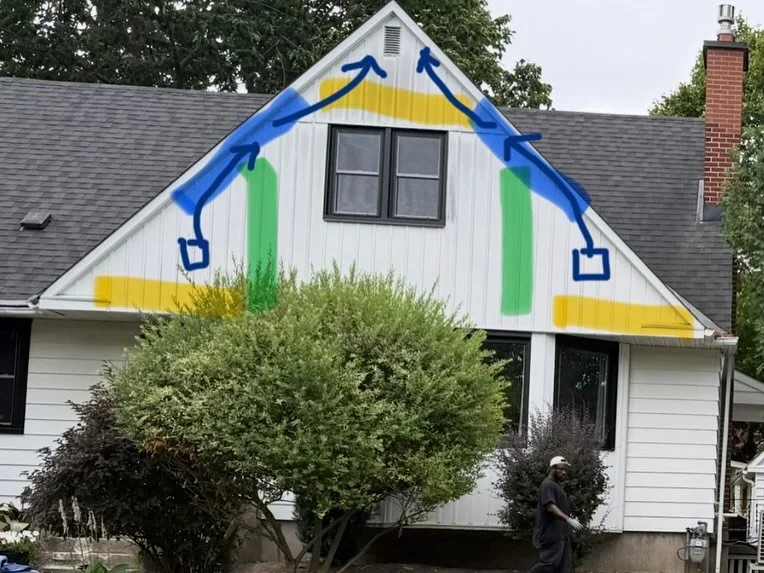
Step 1: Remove Existing Insulation (Yellow & Green)
We start by removing all existing insulation from:
Knee wall floors
Interior knee wall surfaces
The attic floor behind the knee wall
This step is essential. It allows us to:
Identify air leaks
Locate wiring, ducting, and penetrations
Address problems that would otherwise remain hidden
Step 2: Maintain Airflow With Baffles (Blue)
Proper ventilation is often the trickiest part of knee wall retrofits.
We install air diffusers or baffles to allow air movement from the knee wall space into the attic. This can be challenging due to:
Old insulation
Tight framing
Obstructions within the cavities
In an ideal scenario, framing would be extended to improve venting and insulation depth—but that typically means higher costs and reduced headroom. Our approach balances performance with practicality.
Step 3: Seal All Air Leakage Points (Yellow)
Once exposed, we thoroughly air seal:
Knee wall and attic floor leaks
Electrical penetrations
Bathroom fans
Ceiling fixtures
We use canned spray foam and sealants to ensure continuity of the air barrier. This step alone can significantly reduce drafts and heat loss.
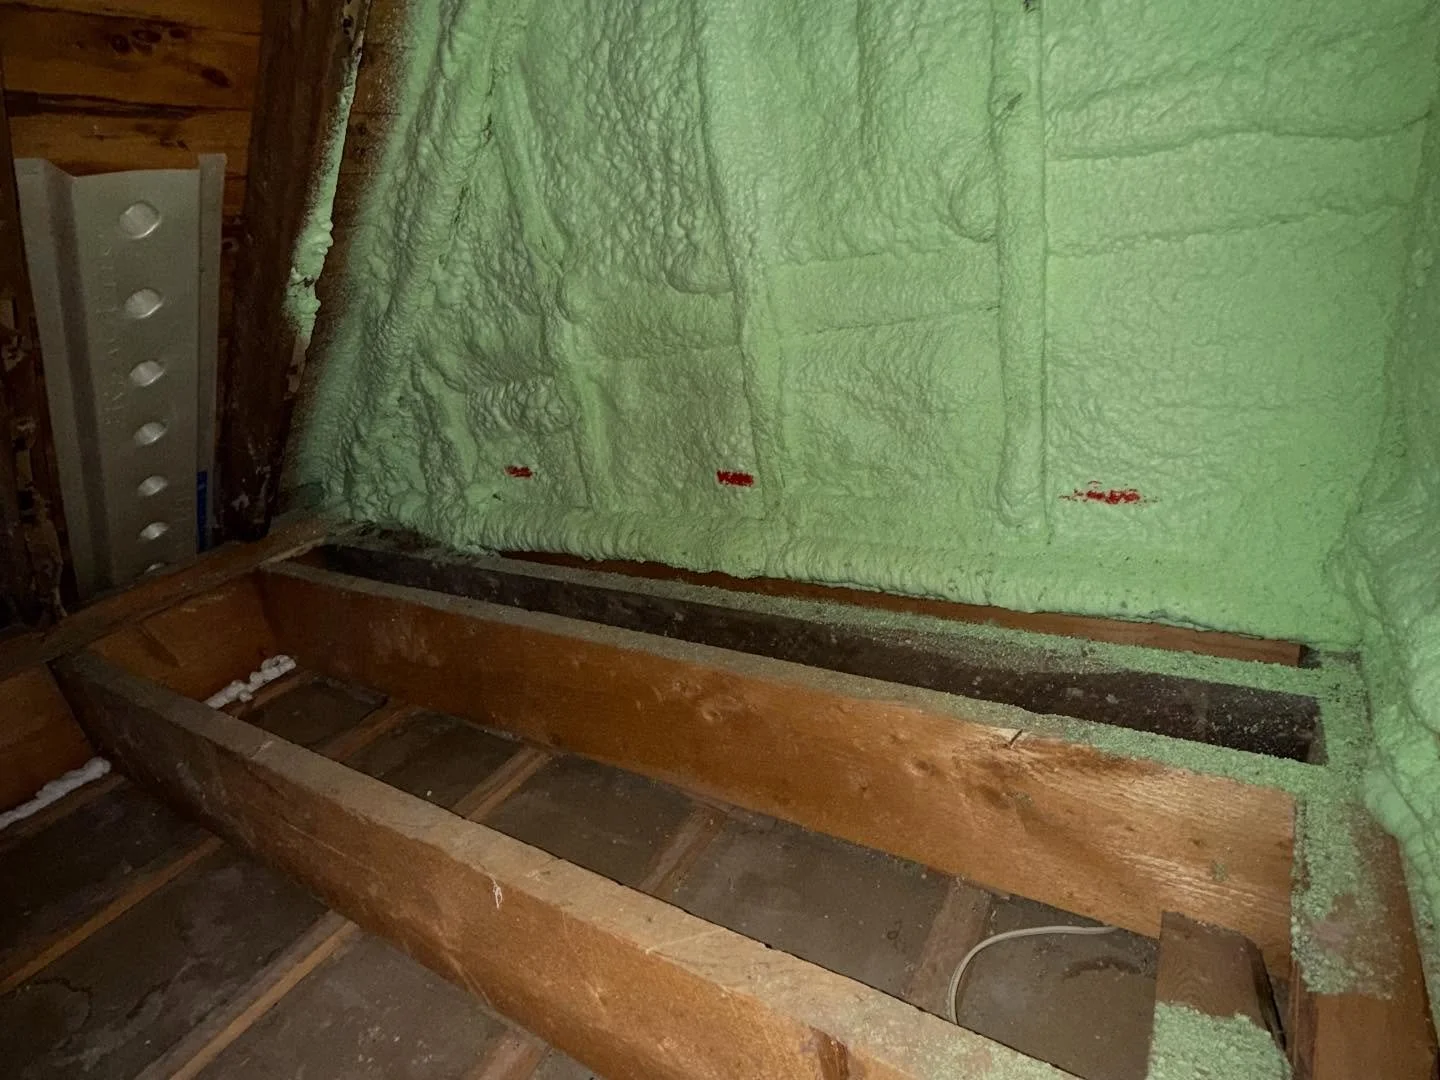
Step 4: Spray Foam the Vertical Knee Walls (Green)
Next, we apply 4 inches of 2 lb closed-cell spray foam directly over the knee wall framing.
This accomplishes several things at once:
Acts as a vapour barrier
Provides strong R-value
Delivers excellent air sealing
Creates a full thermal break by covering the framing
This is a critical step in turning a weak assembly into a high-performance one.
Step 5: Add Cellulose Insulation (Yellow)
With air sealing complete, we blow 18 inches of cellulose insulation into:
Knee wall floors
Attic floors
Cellulose is an excellent air retarder, and at this depth we achieve approximately R-60, dramatically improving thermal performance.
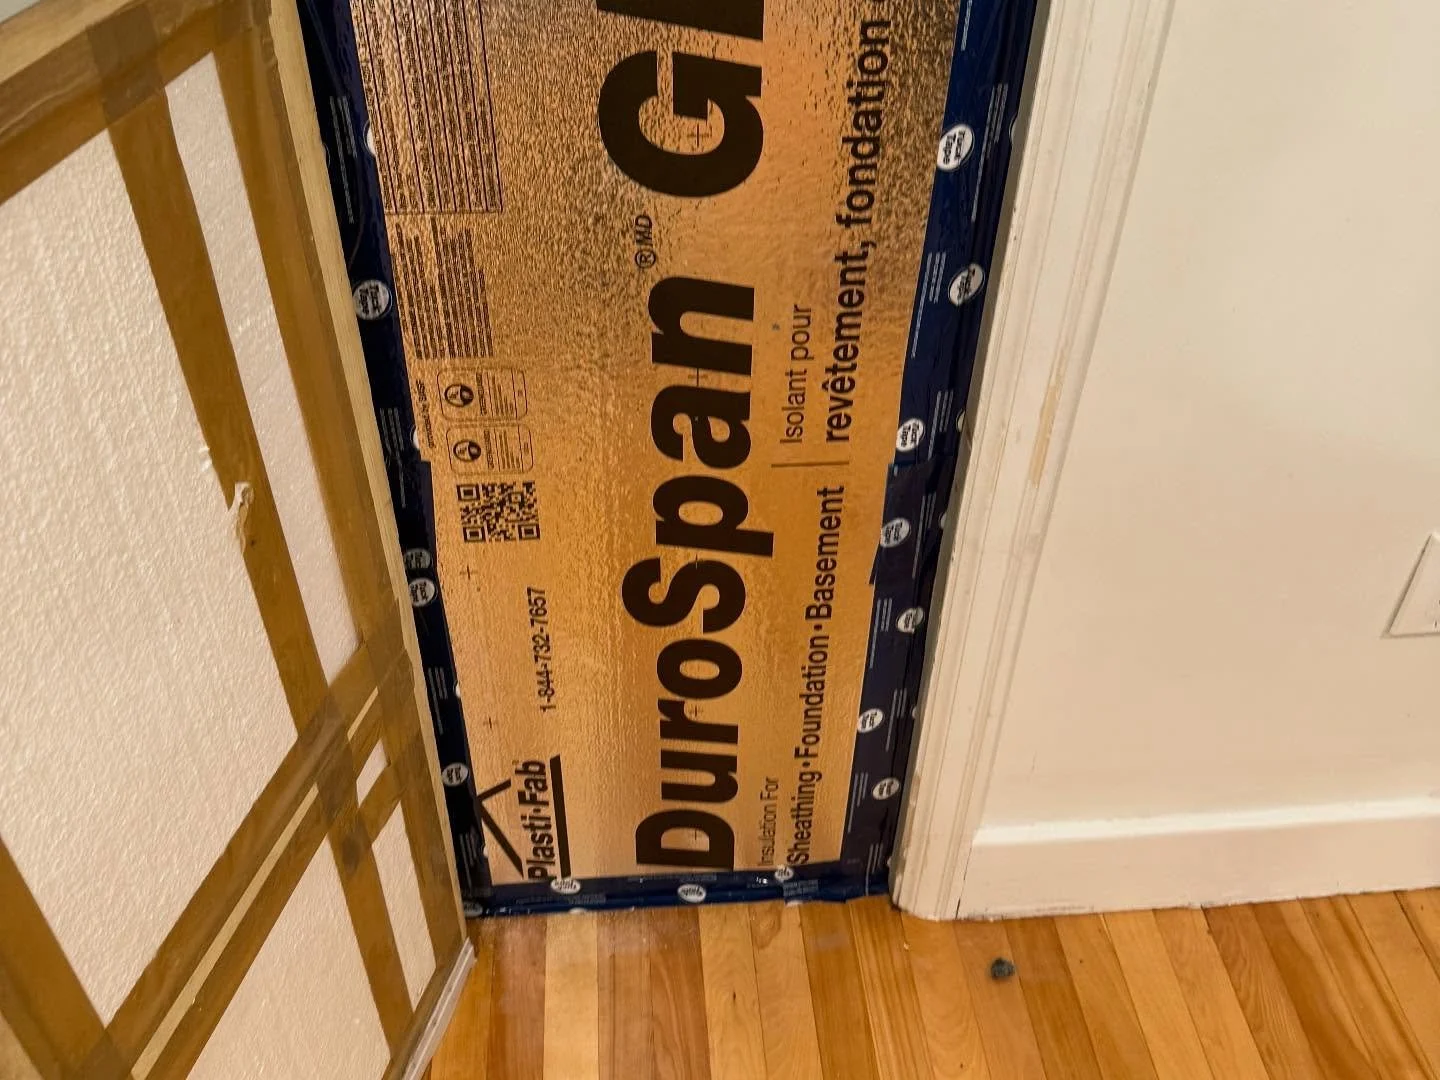
Step 6: Seal Access Points
Finally, we air seal all knee wall and attic access points using:
Rigid insulation board
Weather stripping
Tuck tape
These areas are frequently overlooked but can undo much of the work if left untreated.
Additional Ventilation Considerations
Many older homes lack functional soffits and cannot be easily retrofitted. In those cases, we often recommend gable vents installed at the ends of knee walls to improve airflow and moisture management.
Real Results
Retrofitting older homes isn’t always straightforward, but using this process we’ve consistently achieved 20%+ reductions in air leakage—leading to better comfort, lower energy bills, and more durable homes.